Importing Object Lists FromTheSky™ Data Wizard
TheSky is a powerful planning tool with a huge set of databases, images, and other features. ACP Planner can import object lists generated by TheSky's Data Wizard, creating targets in its own list in the same order. TheSky's Data Wizard can generate a list of targets and their coordinates in an optimum order. See the help included with your copy of TheSky, or the TheSky Online Help at Software Bisque's web site. You can save a lot of time by importing the target list (as opposed to manually creating new targets and entering their coordinates) in ACP Planner! . Let's see how.
Making the List with TheSky Data Wizard
We'll assume you're already familiar with TheSky's Data Wizard. There are three phases to making a list with the Data Wizard: (1) Setting up the Query, (2) running the query, and (3) exporting the results. Here are the specifics needed to import results into Planner:
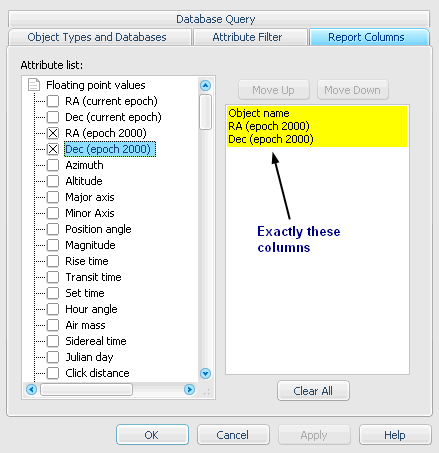
- When setting up the Report Columns in Query/Edit Parameters, specify only the Object name, RA (epoch 2000), and Dec (epoch 2000) in that order. Planner expects only these three items, and it is vital that you use epoch 2000 (properly termed "J2000 Equinox"), as ACP always works with these standardized coordinates. Here's what it looks like:
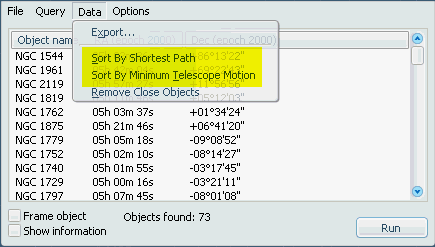
- Note that you can have the Data Wizard sort your targets in a couple of useful ways:
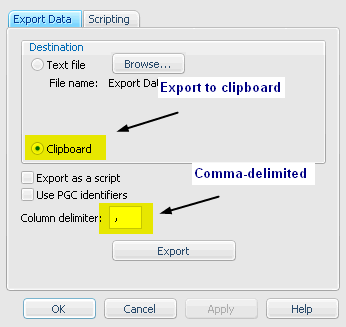
- Planner expects comma-delimited data on the clipboard:
Importing the Observing List
Once you have the the Data Wizard observing list on the clipboard:
- Alt-Tab to switch to ACP Planner (or start it if needed).
- In the File menu, select Import TheSky Data Wizard... The Planner "Import TheSky Data " window will appear (you'll see an error popup if you don't have the correct format data on the clipboard).
- Specify the time (local) at which you want acquisition of the first target to begin. The time must be in the future, of course, and the initial time shown is the ending time of the last target in your plan, or 10 minutes from now if you have no targets in your plan. See below for more information.
- If you are acquiring multiple images of each target, you can tell the observatory to "dither" the images slightly. For astro-imaging, this can sometimes improve the quality of the stacked images.
- (optional, only if you are exporting to ACP Scheduler) Enter the minimum altitude at which ACP Scheduler will allow observations of all images of all targets.
- Click Import to add the Data Wizard targets to your plan.
- Starting with the first target, add images to each target. As you add images via a preset, or manually followed by clicking the Update button, you'll see a popup telling you that this target's expected acquisition time has increased, and asking you if you want to push subsequent targets out in time to make room. Answer yes. Repeat for all of the SkyTools imported targets.
- Now review your plan, looking at the starting times for each target. If you need to manually push a target out (later) in time, you can do this by right-clicking on the target and selecting Edit.
 If you have a rotator, you will have to edit each target and enter its Position Angle.
Copyright © 2005-2009, Robert B. Denny, Mesa, AZ